

Teaching Station: Teleprompter
Remote teaching implies some form of video conferencing. It does not, however, mean that we must give up all eye contact. I built a teleprompter unit for my Mk III teaching station.
Teaching Teleprompter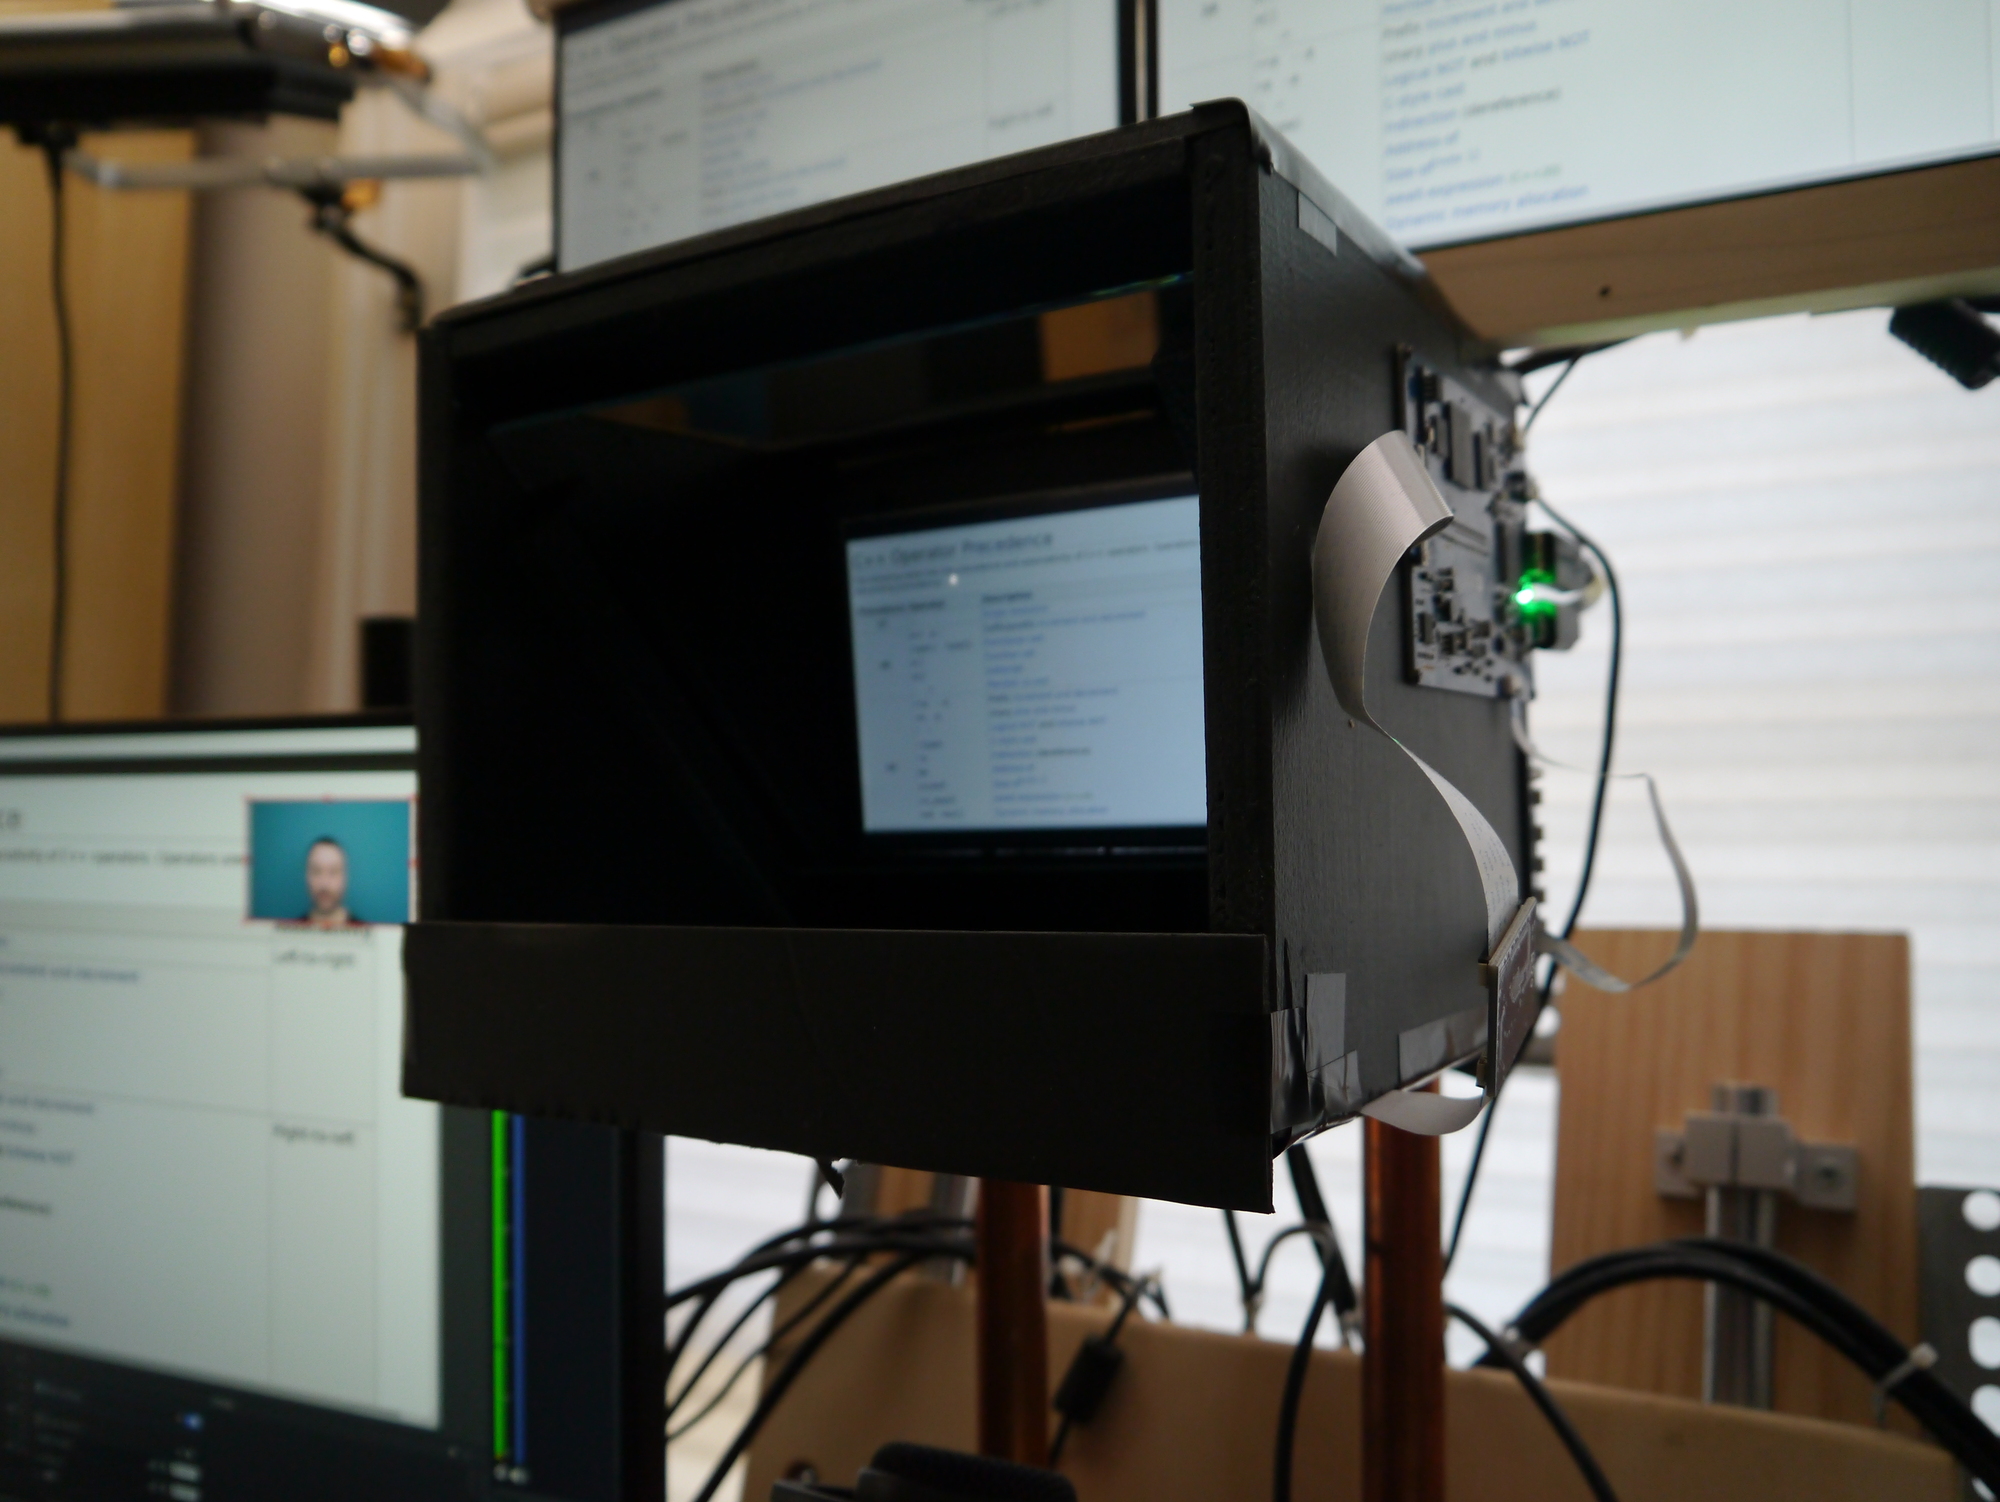
An instructor can fake some eye contact just by ensuring that when they talk, they look ‘at the person’ through the webcam. There are a couple of serious downsides to this. Firstly, because you can’t the see the other participant, you can’t read them and react to non-audial clues. Secondly, if you’re teaching, you can’t look at the material you’re teaching to get an idea of position. A minor downside is that the participant will know that you can’t genuinely see them because there is no tracking of their movements. My experience has been that they’re still happier that you are making the effort and I think it is a skill, in the area of listening, that is worth developing. But, of course, with a bit of work, you don’t have to.
Before getting into detail, I should say that this wasn’t my idea. I saw the video “Weird webcam mode that enables eye-contact conversation” from DIY Perks. In it, the presenter gets to show off their striking eyes by building a hood around their laptop that contains a two-way mirror and a re-purposed webcam. If you are teaching with nothing other than a laptop, then make sure you watch it!
I didn’t want to use an old webcam; I had finally taken delivery of a Logitech StreamCam ($170). Sure, I could go to a bigger and better camera (also see Why can’t you buy a good webcam?), but it’s not necessary for training, and I am on a space budget. I also didn’t want a screen as large as a laptop. Large screens are normally better, but the smaller screen fits more into the area the camera looks through. This probably isn’t as important when talking directly to one person, but our teleprompter is not just about talking. If it is showing our training material, then we don’t want to be scanning around with our eyes. We want to maintain focus on the attendee - every attendee gets eye contact (ish). I looked at commercially available solutions, but none would fit on the shelf and work with the webcam. If I didn’t have the tools to make my own, I would have looked harder.
Teaching Teleprompter (above)
The photo above shows all the three major parts of the teleprompter - the camera (just a glimpse), the two-way mirror, and the screen in their regular positions. The following two photos have the two-way mirror raised to show the camera more clearly.
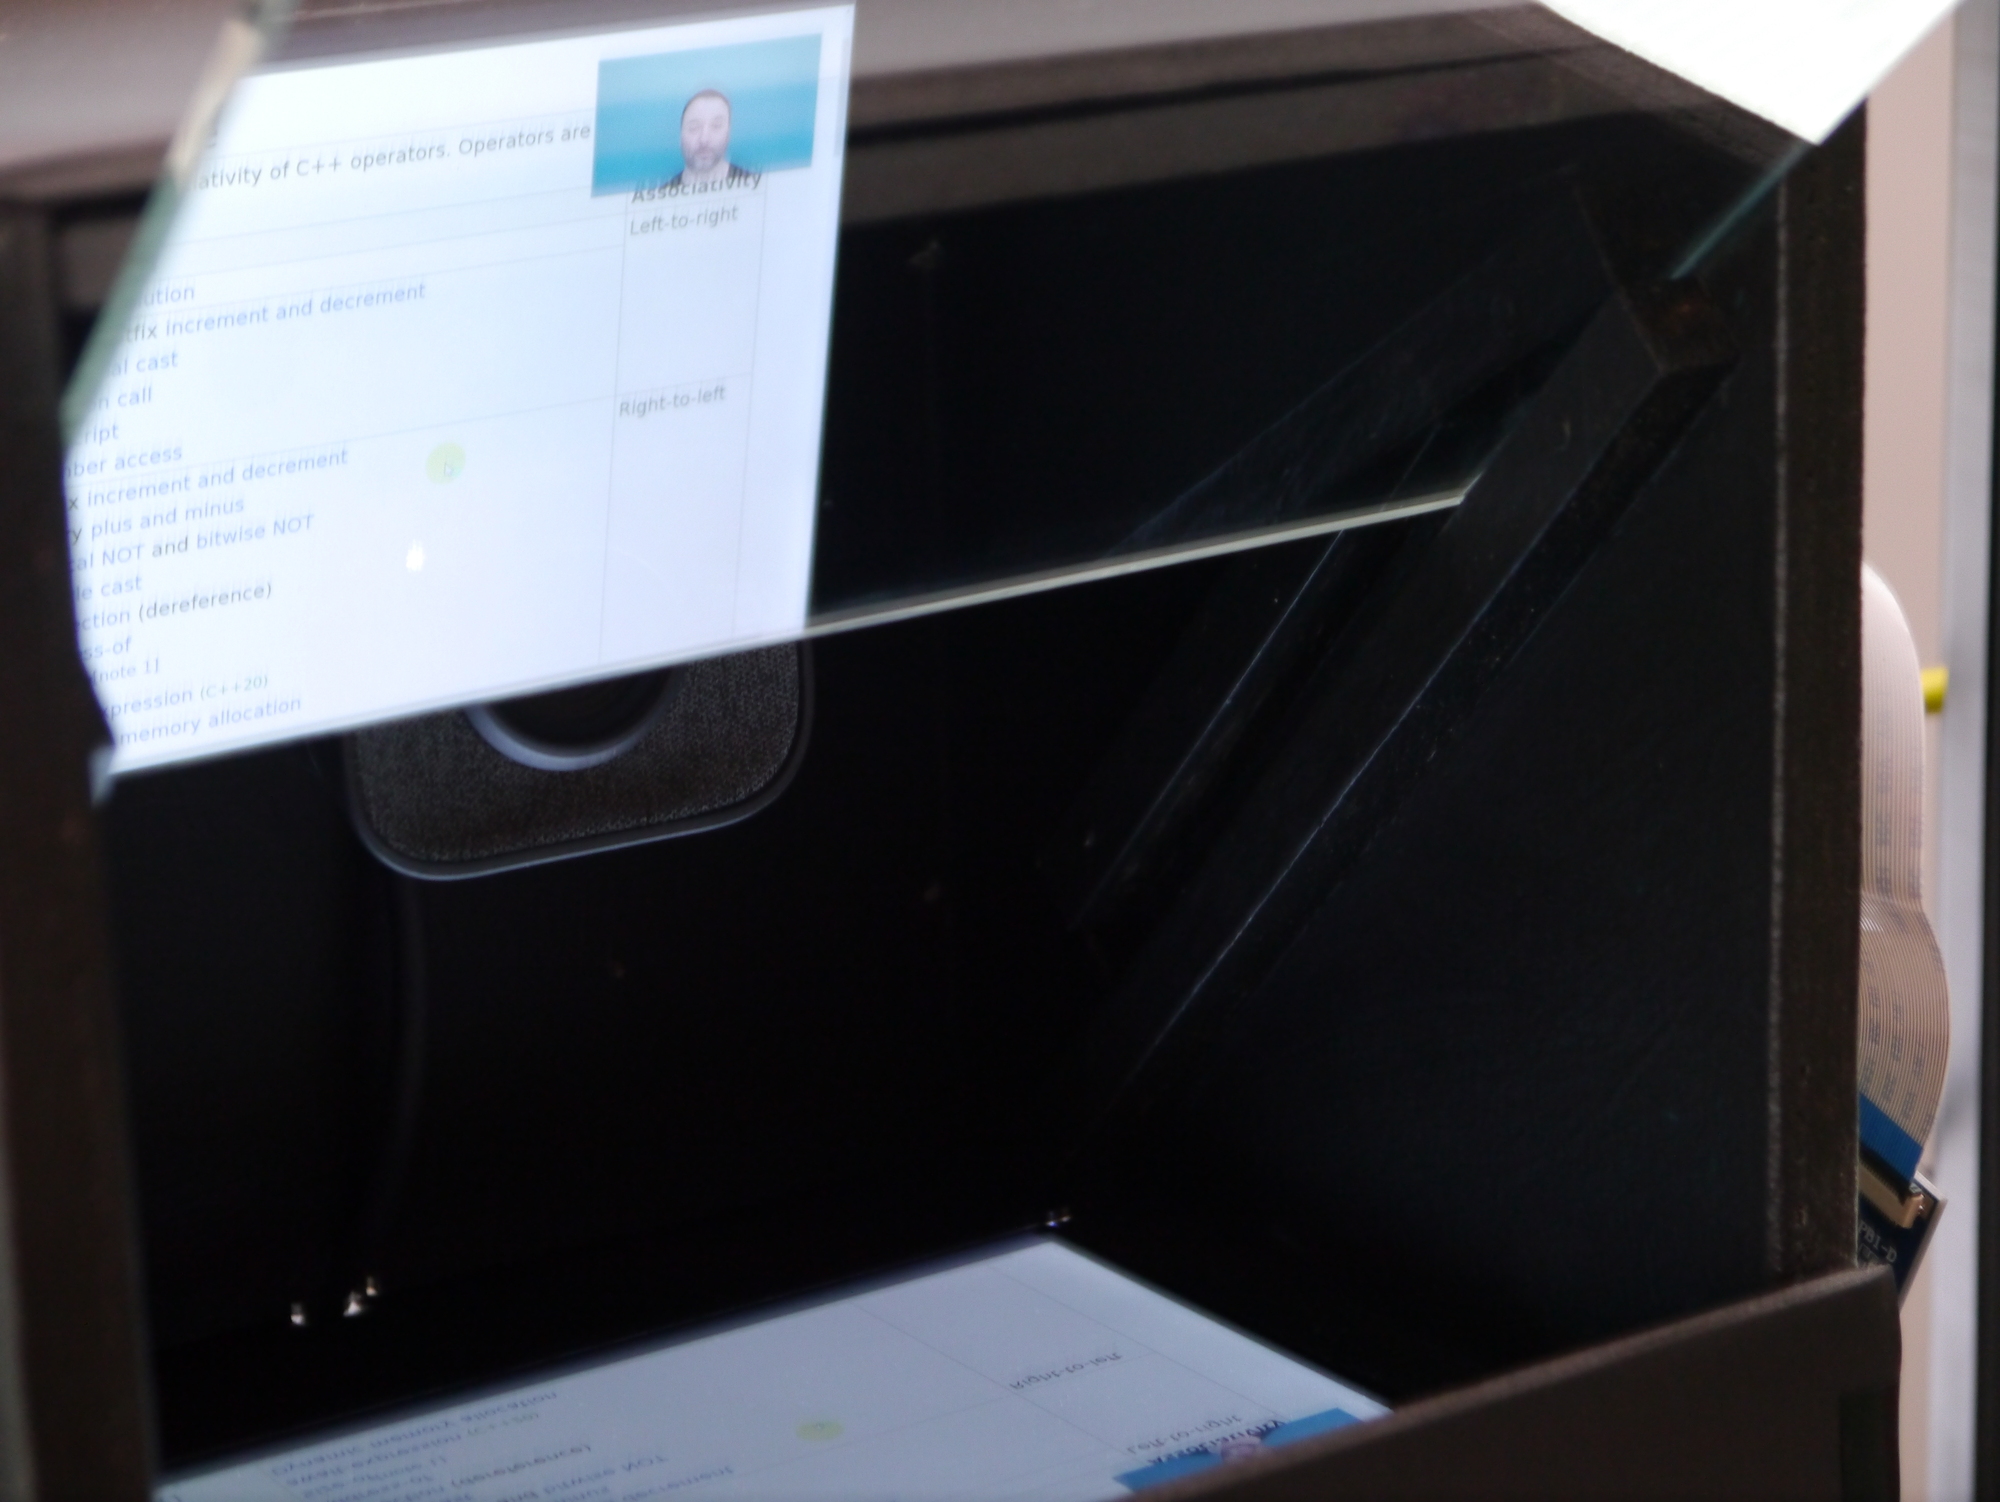
Teleprompter, raised mirror I Teleprompter, raised mirror II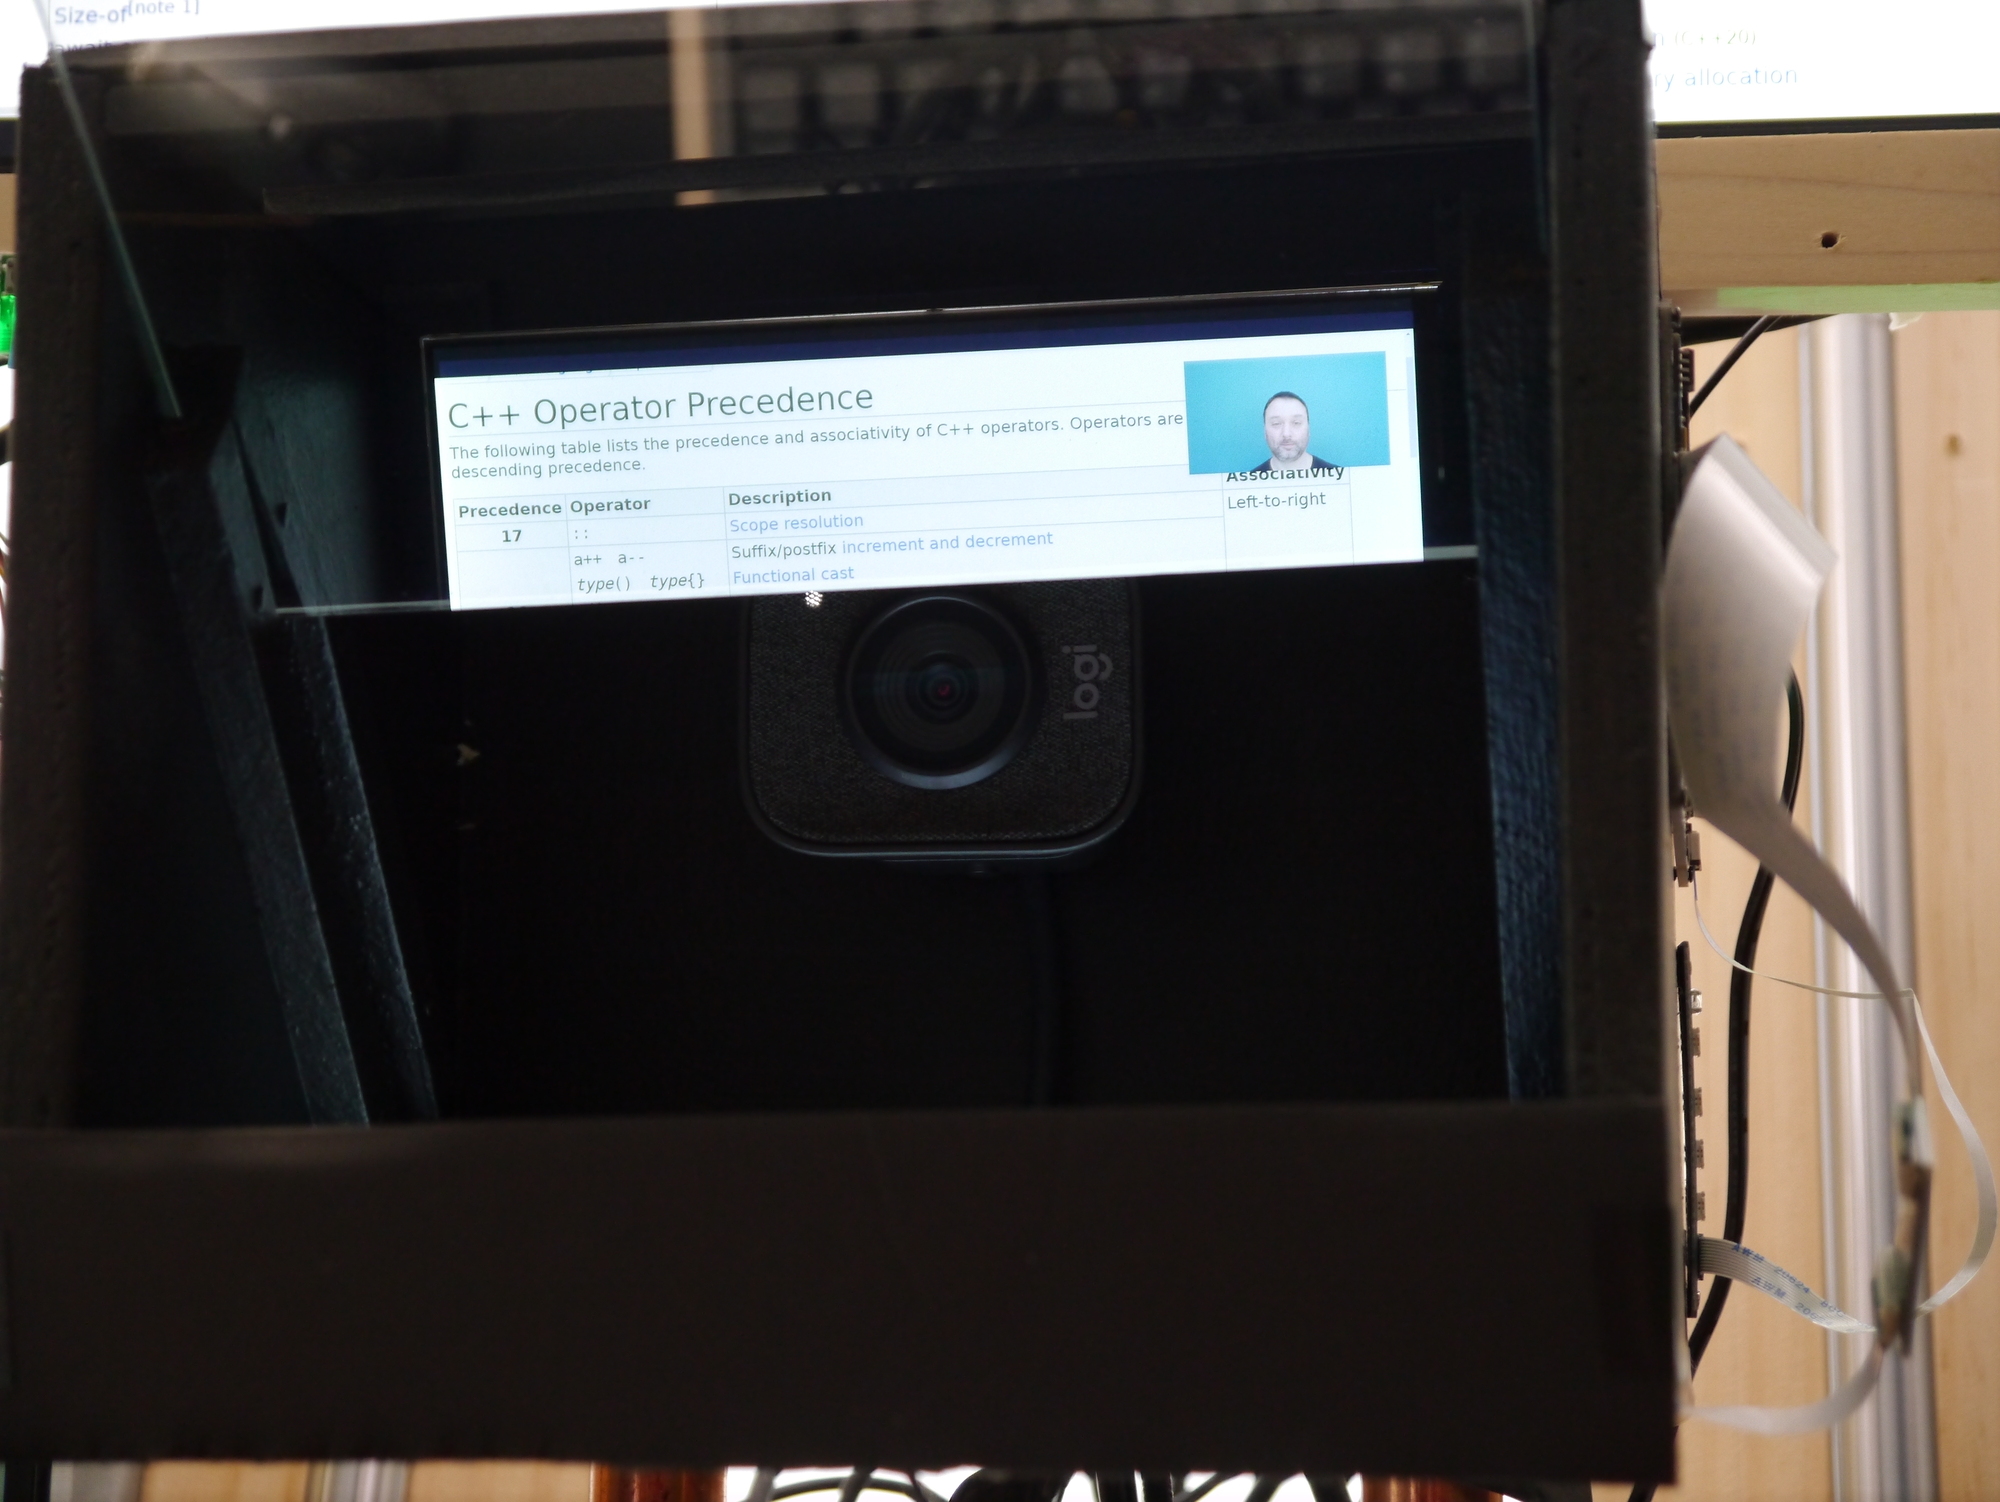
The screen is just a panel, as used for some of the other displays. However, I had a hard time finding a screen the size I wanted with a resolution of at least 1920x1080 (all displays use the same resolution to make life easier). I settled on a 7" 1920x1200 screen with controller ($75). On reflection (no pun intended), this is possibly too small, and maybe another 10" would have been better. Go for the brightest screen you can, though!
Two-way mirrors can be bought from twowaymirrors.com. I bought a 6" x 7" 4mm thick 30R/70T mirror for $45 + shipping. I can’t say that I knew what I was doing when I bought it, but appears to have been a good choice. If you want to experiment, they also sell 6" x 6" samples.
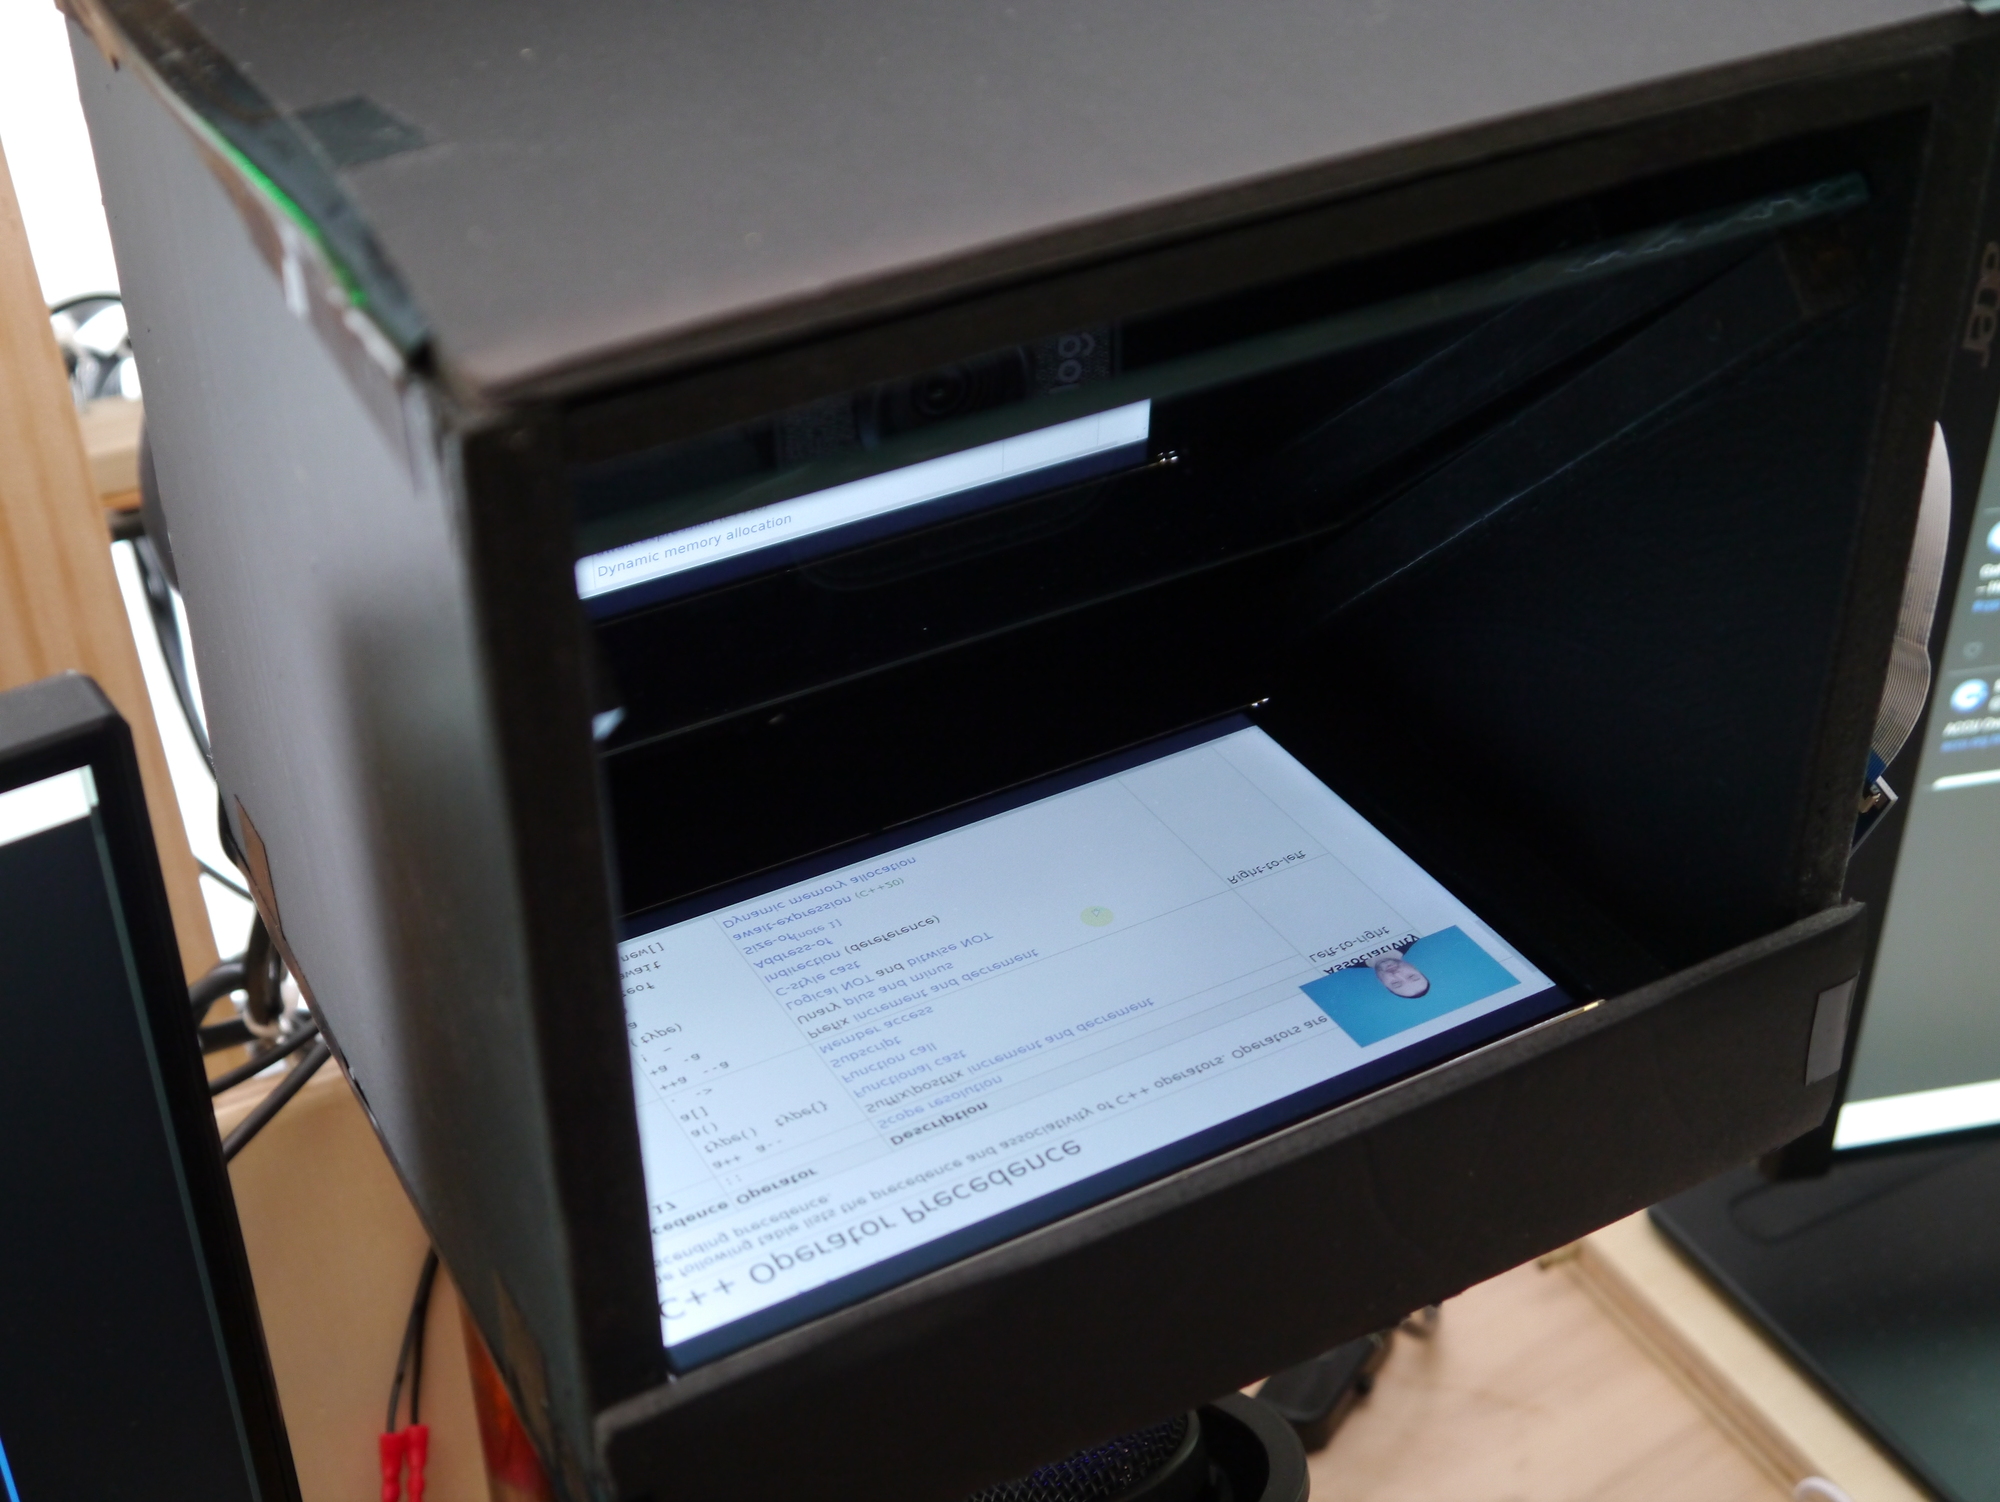
The display sits at the bottom of the case. The mirror slides into a couple of channels, nailed to the inside of the case, running at 45 degrees to the screen and the camera. I strongly recommend making the mirror removable - it will need cleaning.
Teleprompt Build I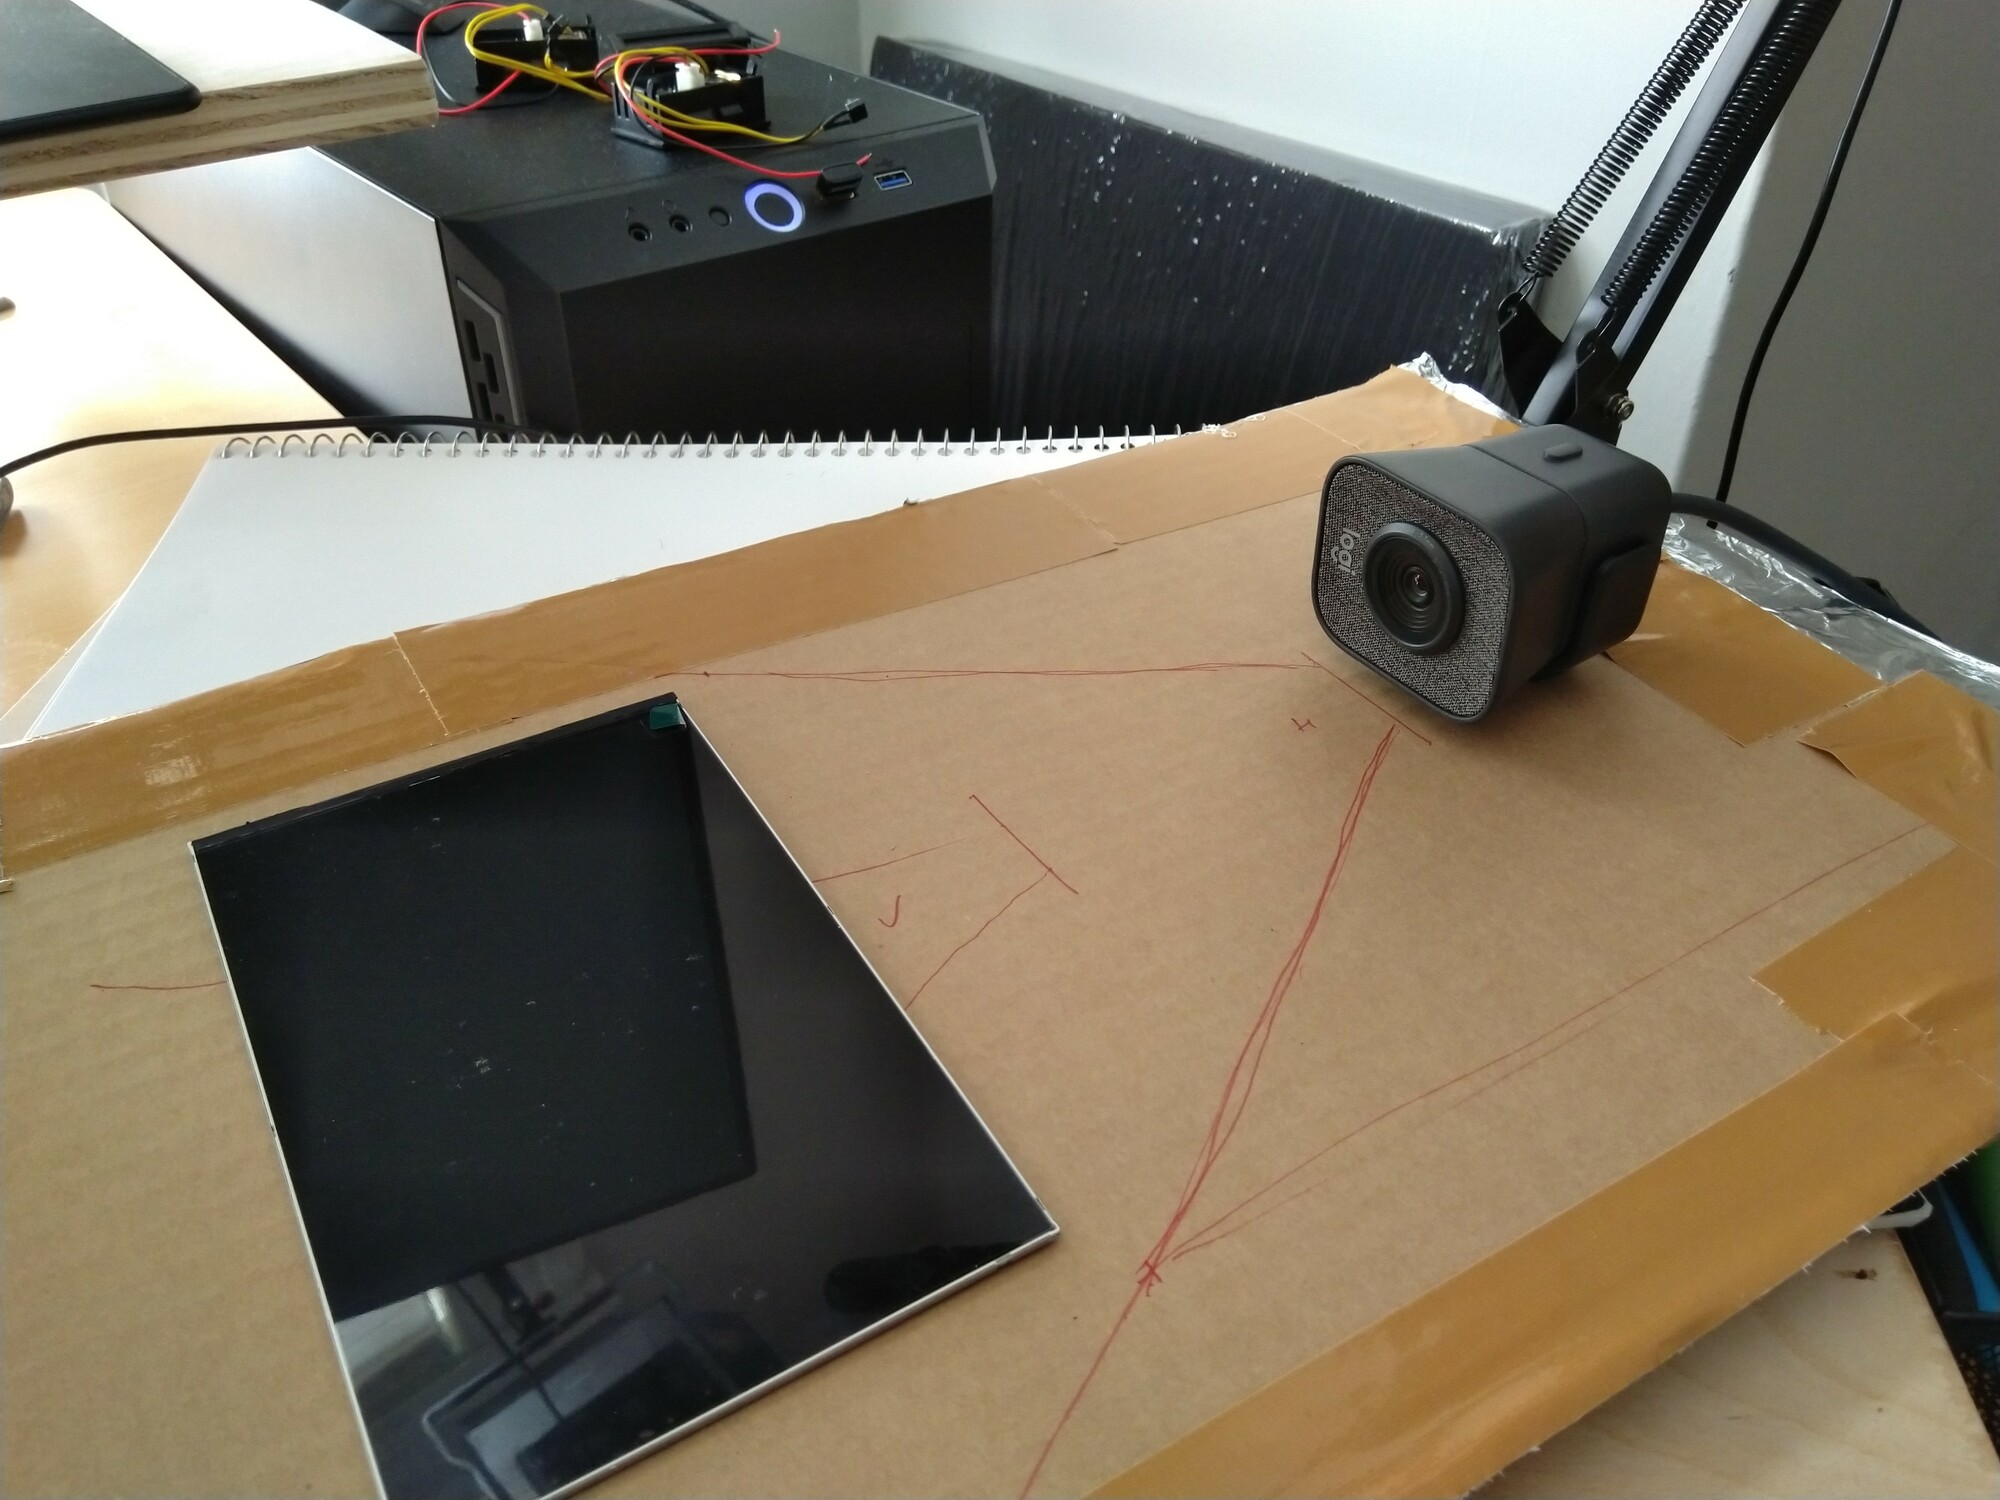
Teleprompt Build II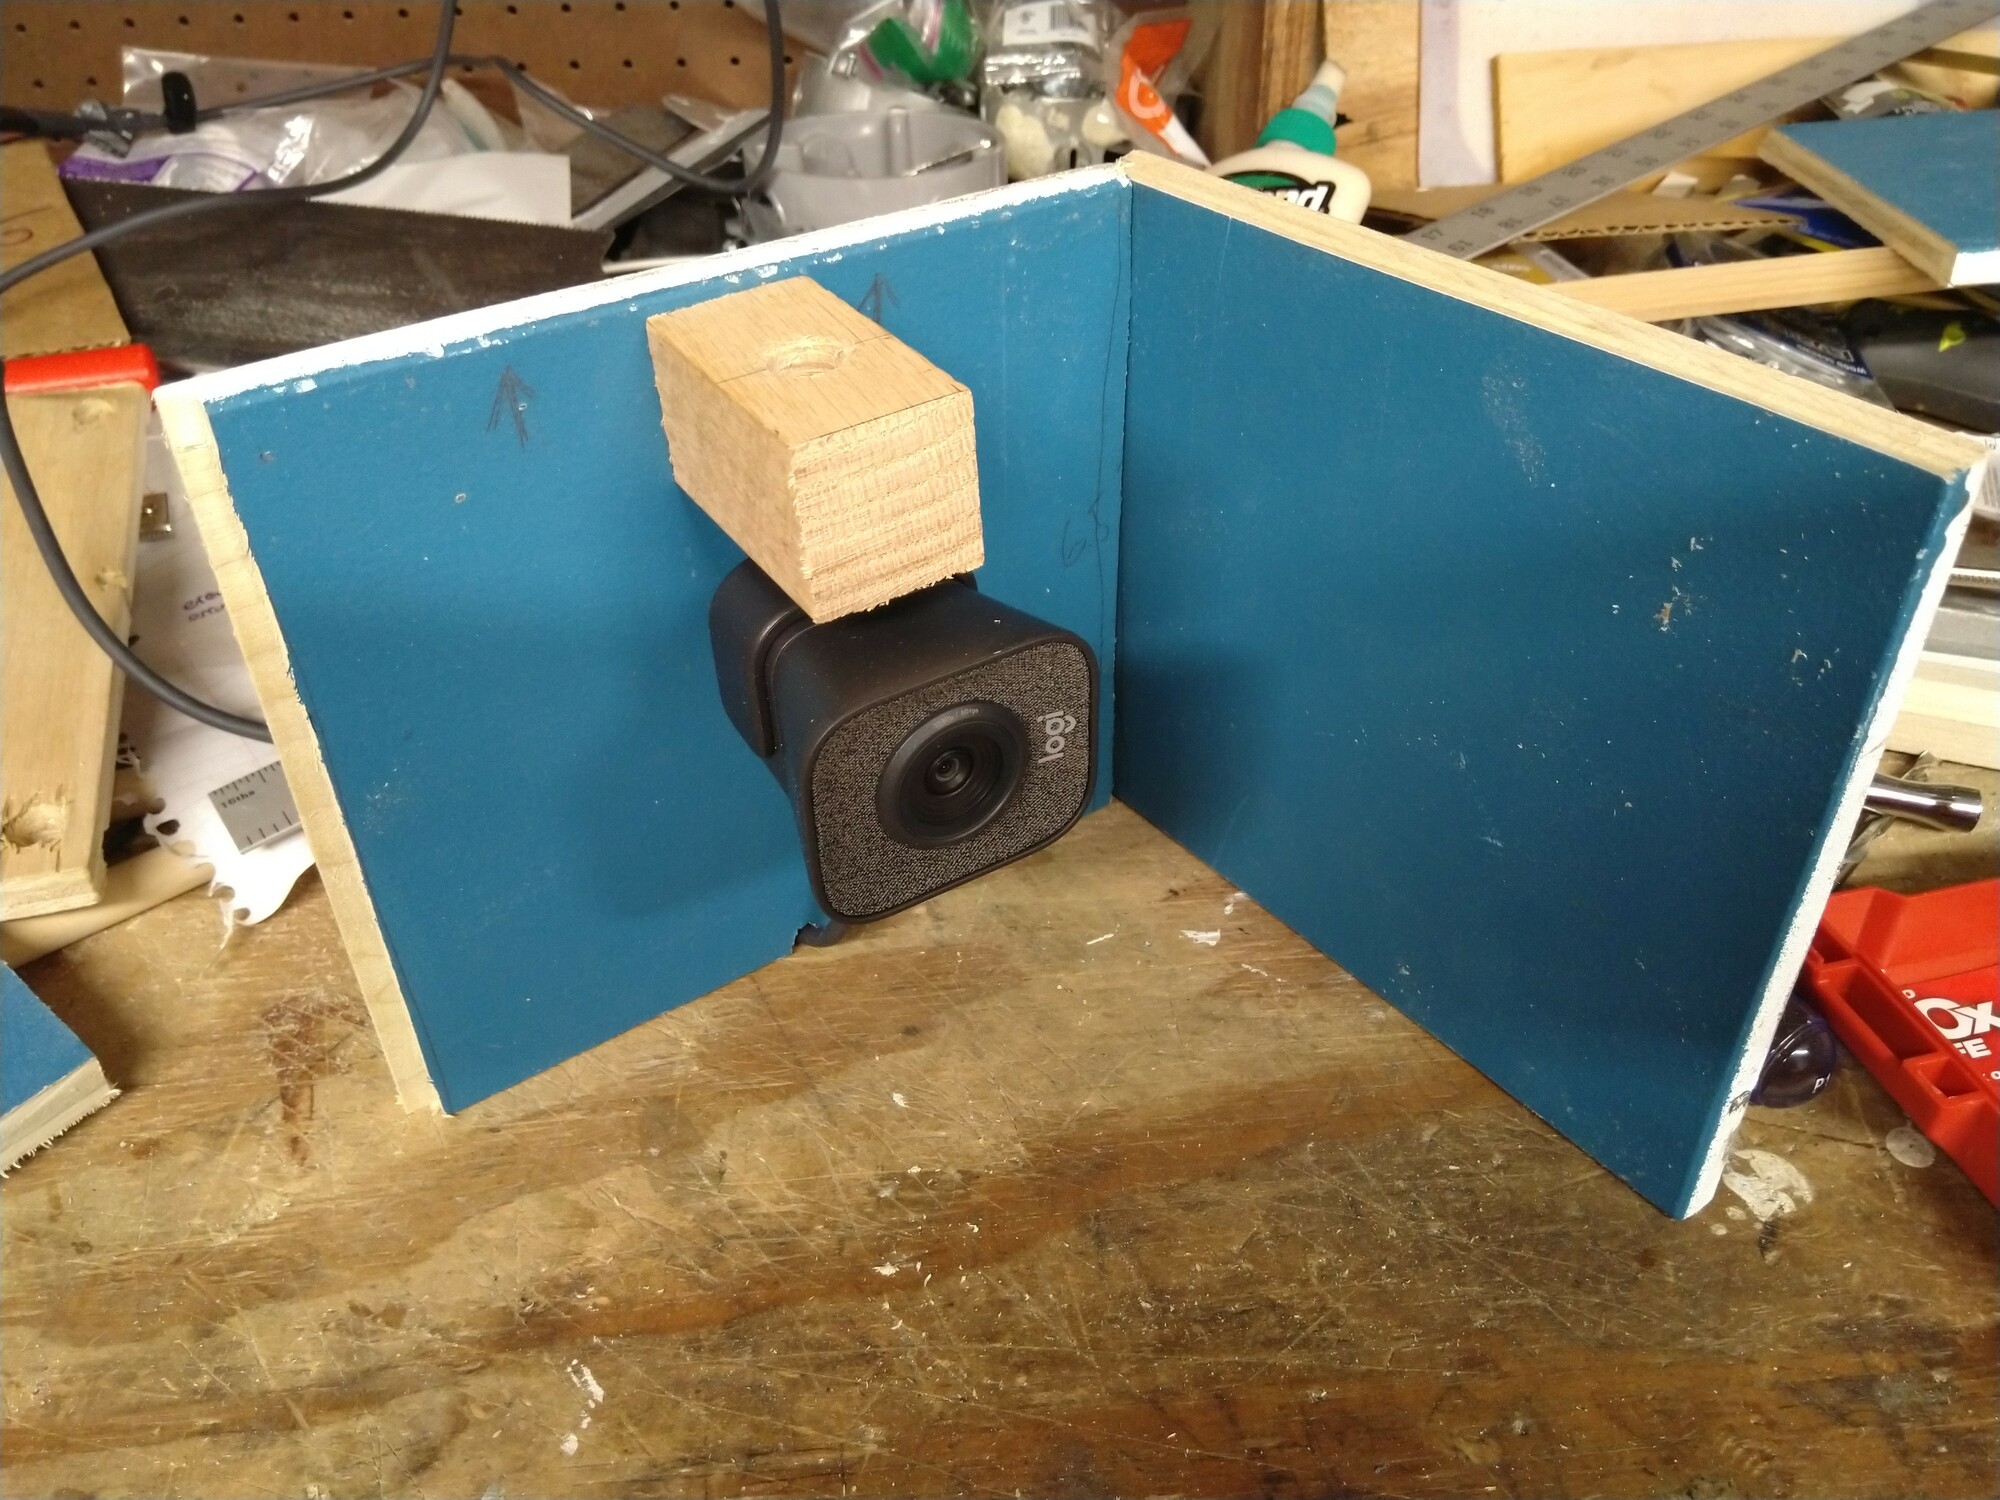
Future Directions
I have a plan for a simpler alternative, but I’ll have to push off posting to if and when I get it working.
Summary
I can teach without the teleprompter, but I don’t want to! It’s technology that makes teaching and interaction more natural. Before building one or buying one, consider whether it would support your teaching style.