

Teaching Station: Diagramming
Both physical diagrams and digital diagrams are useful for remote training. Physical diagrams illicit a stronger, warmer response though.
Physical Drawing Area
Physical Drawing Area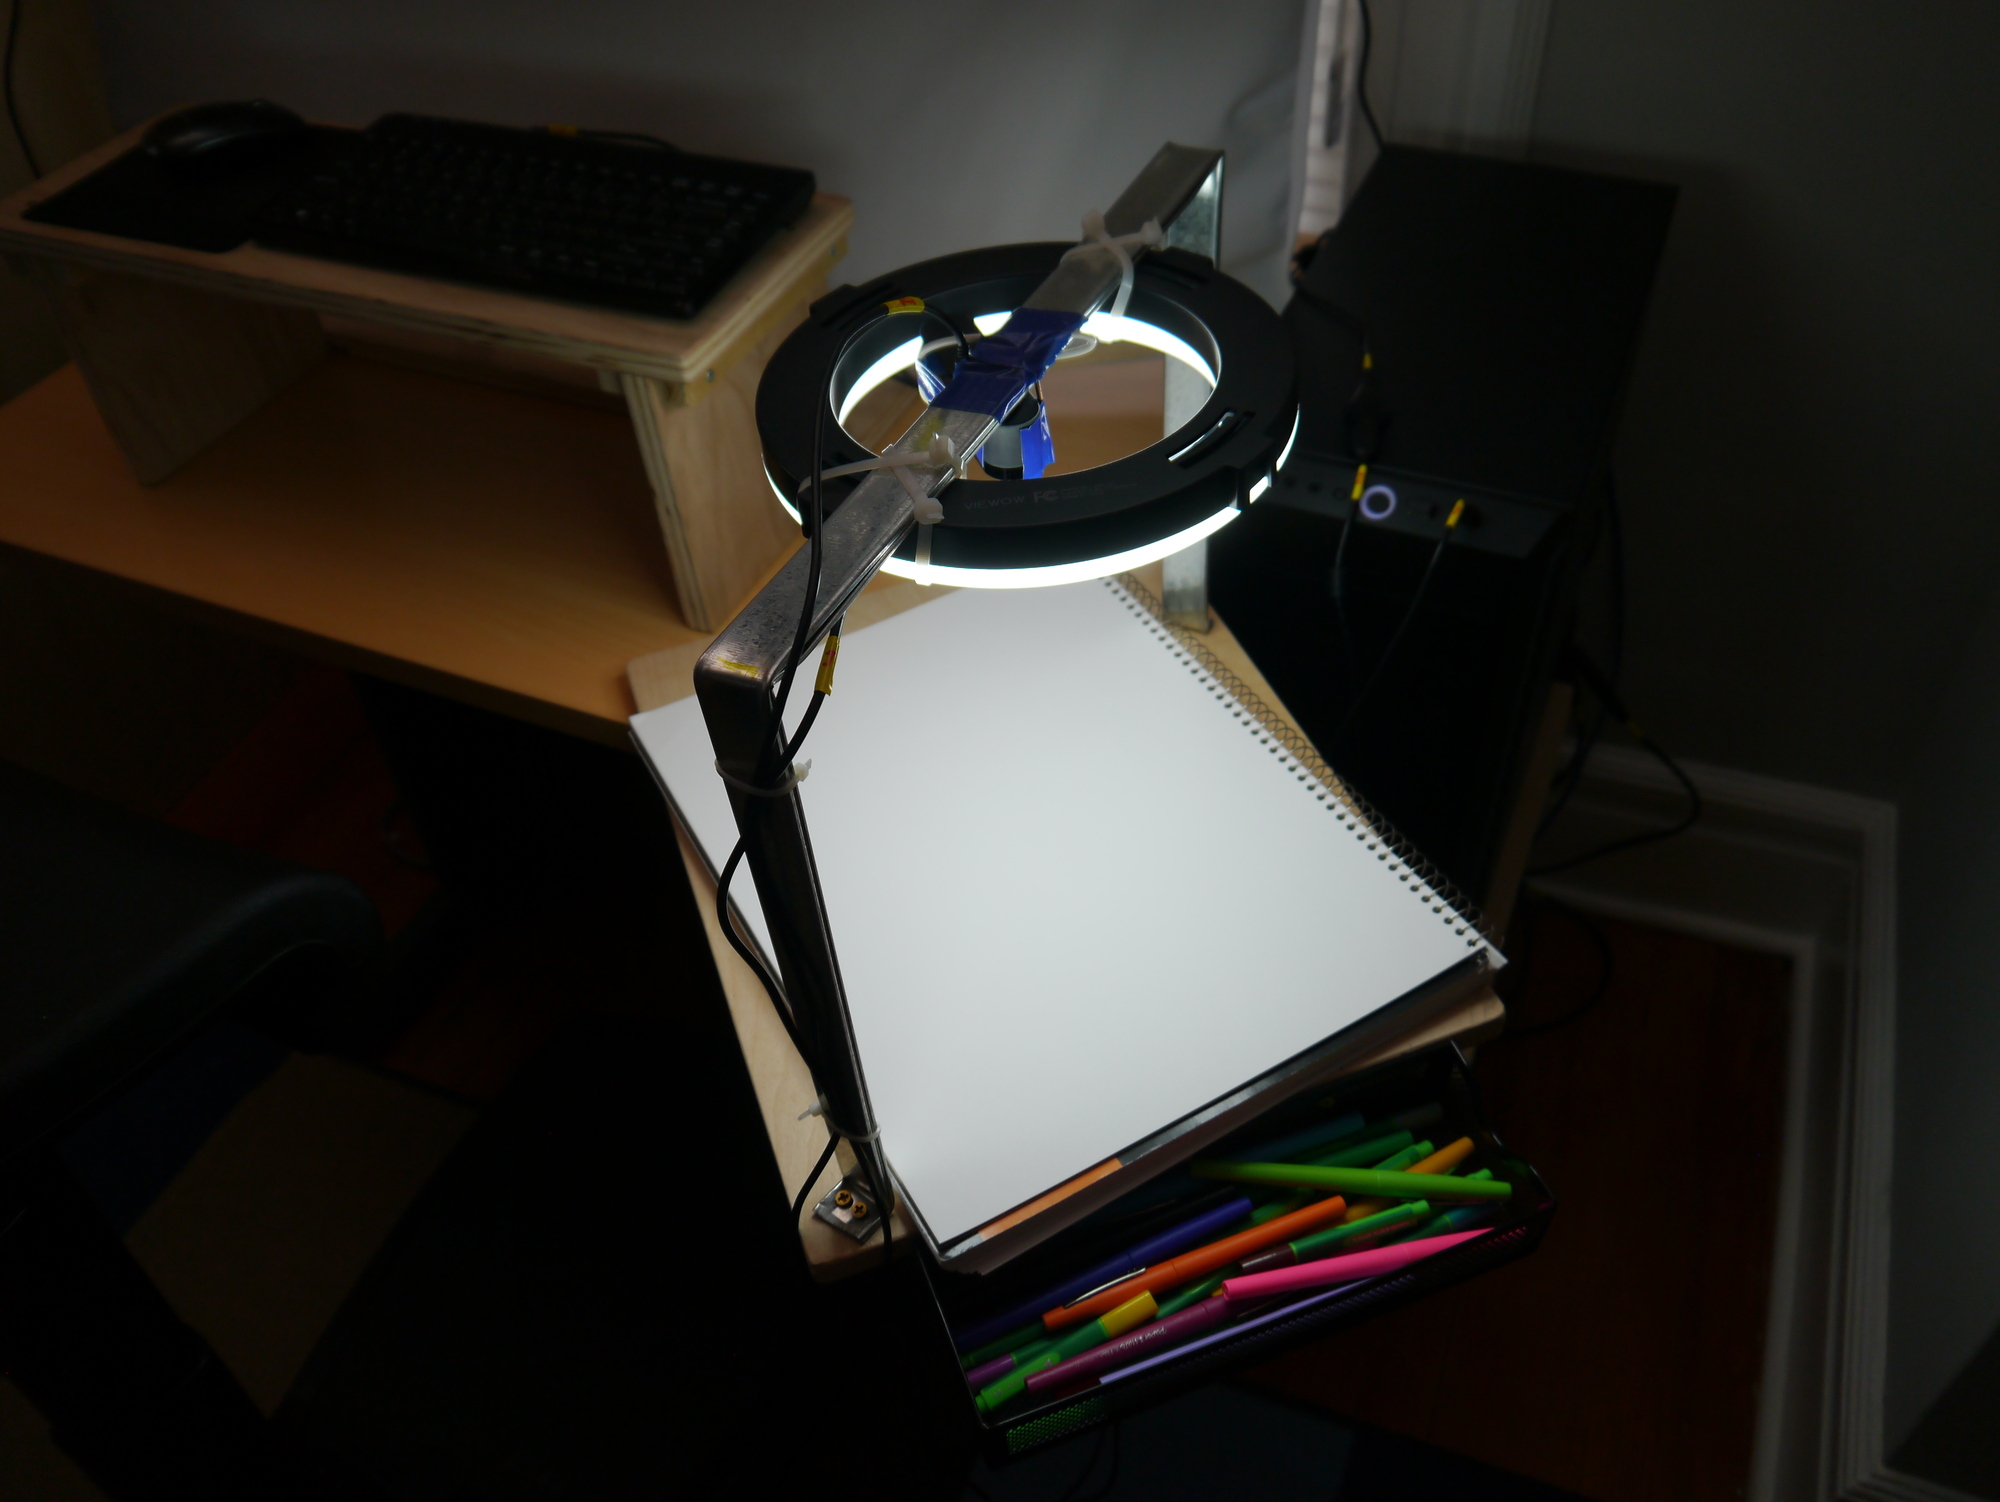
I have found that attendees enjoy seeing a physical diagram. There’s something about its more primitive, physical nature that I think comes as a relief during remote training, especially during COVID-19. And while it is primitive, it’s trickier than the purely digital form (also present on the teaching station). I’d had a taste of this with the Mk I, but this is an experience that has been repeated through multiple trainings.
Physical Drawing Area
One of the scenes in OBS is the view of the diagram camera. On top of the view I can overlay a picture-in-picture of the main camera, or any of the other main sources, such as the slides, if it would help to see it at the same time as the diagram.
I thought I had a smart idea about using LUTs in OBS. A LUT allows you to map colours and I figured I could map all colours close to one of my pen colours to a single colour. Things that were light could be mapped to white. That way, the diagrams would be much cleaner. It didn’t work though - there was too much fuzzing at the edges of lines, and it made the circular view of the camera much more apparent. I may return to the idea at some point.
Digital Drawing Area
Wacom Tablet (drawing position)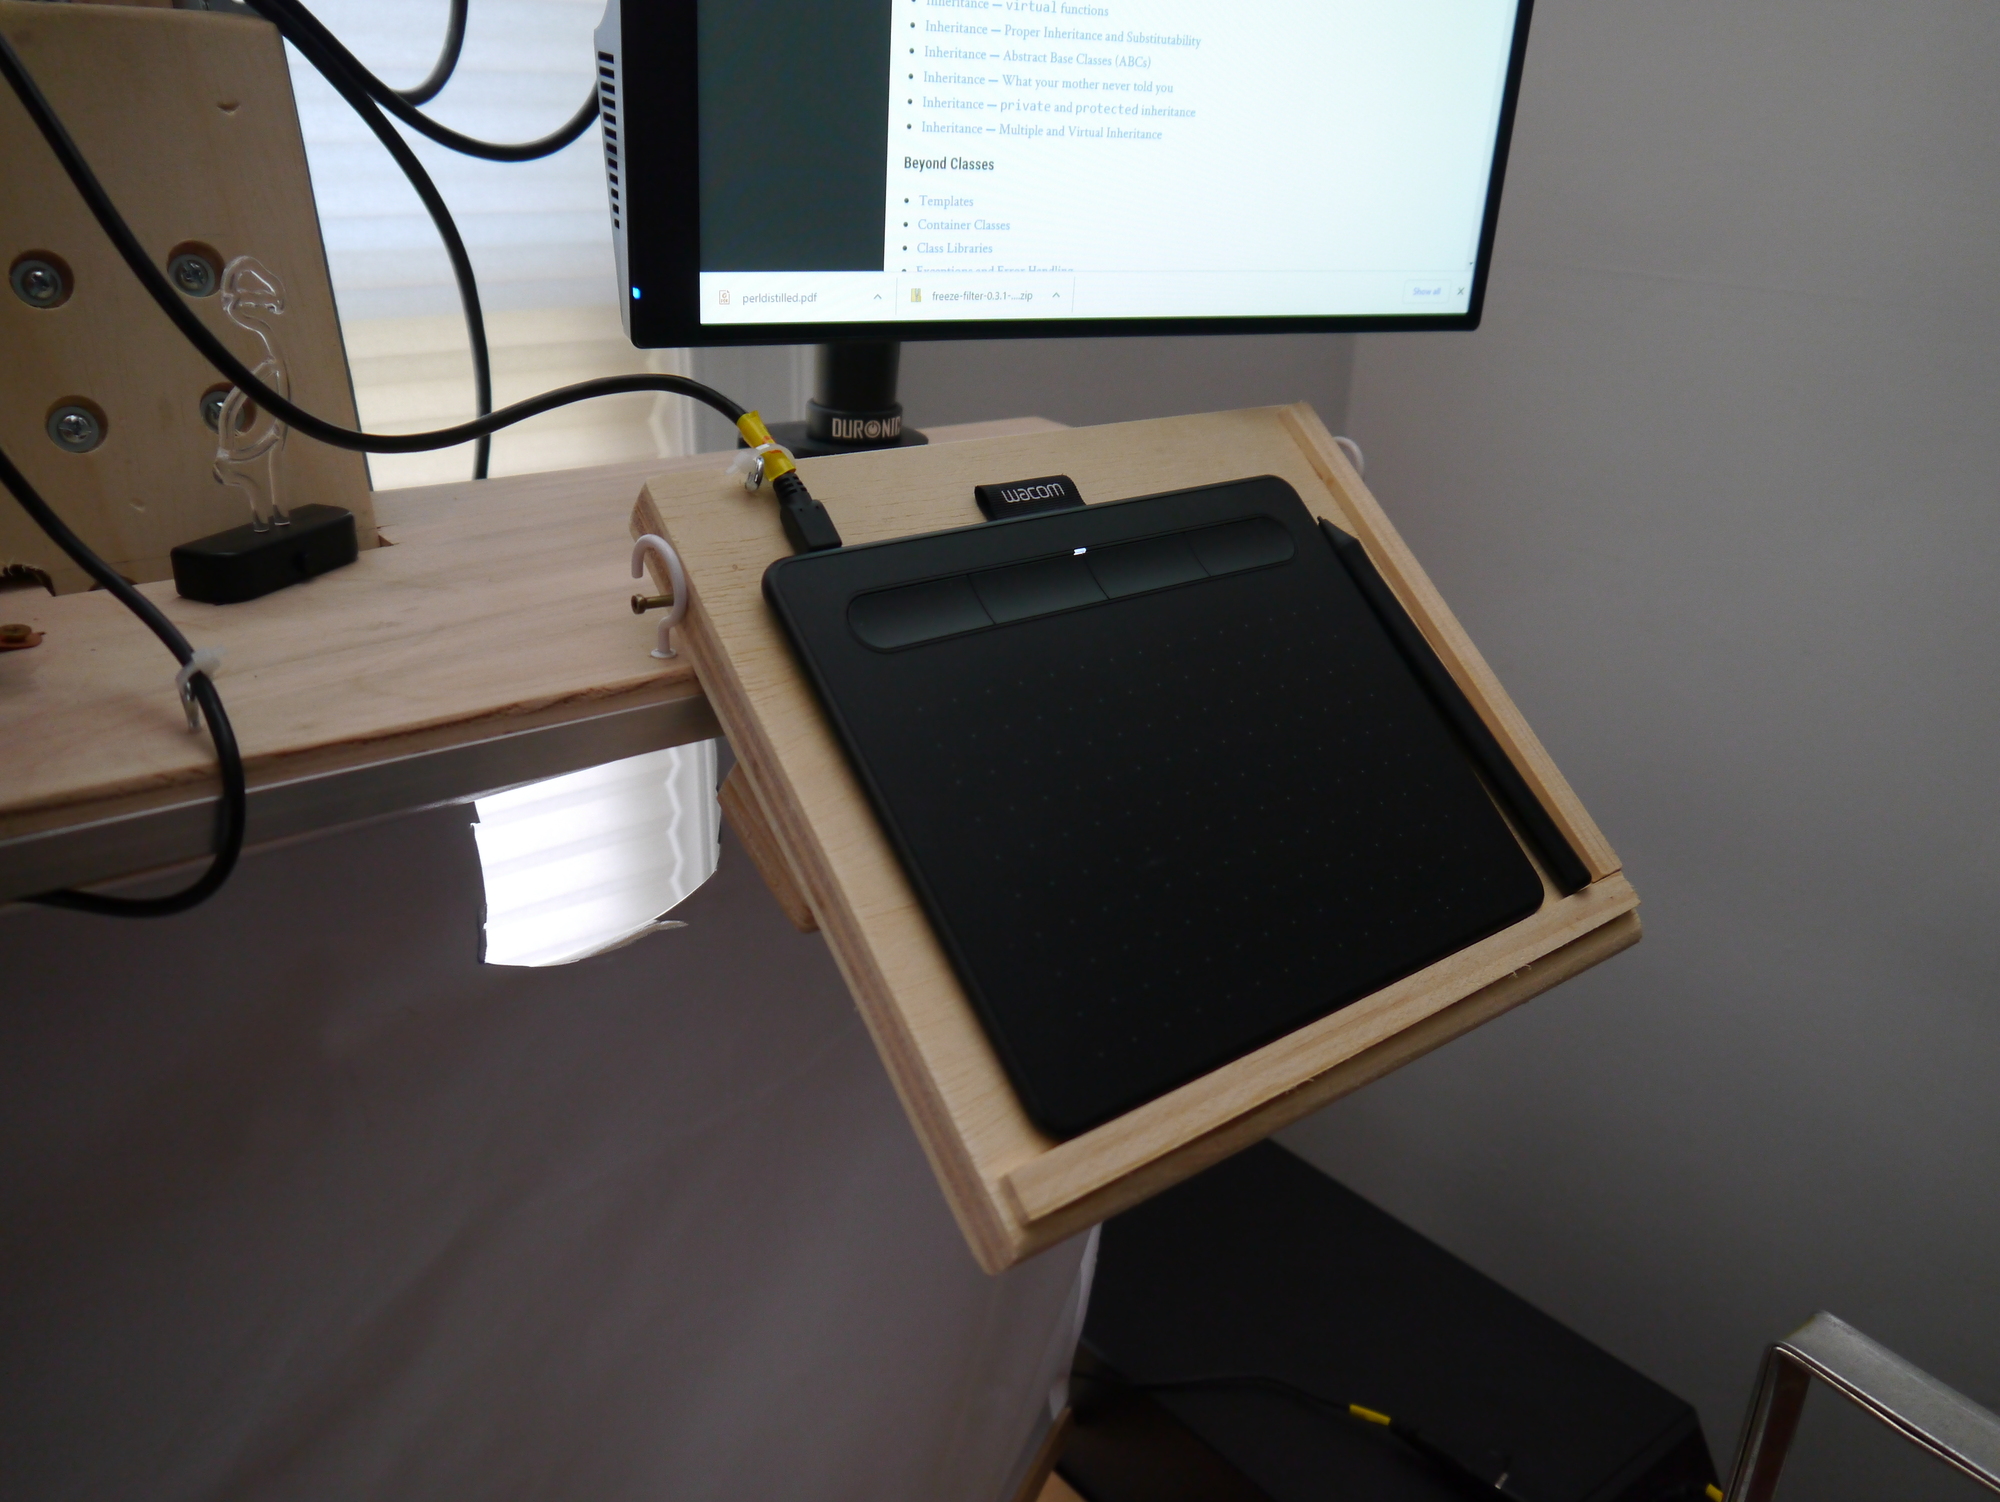
The Wacom table sits on a tray connected to the teaching station’s shelf, conveniently angled for drawing either standing or sitting. When down it occupies space needed by the physical drawing area. Therefore, as shown in the following photo, it can be stowed when not in use.
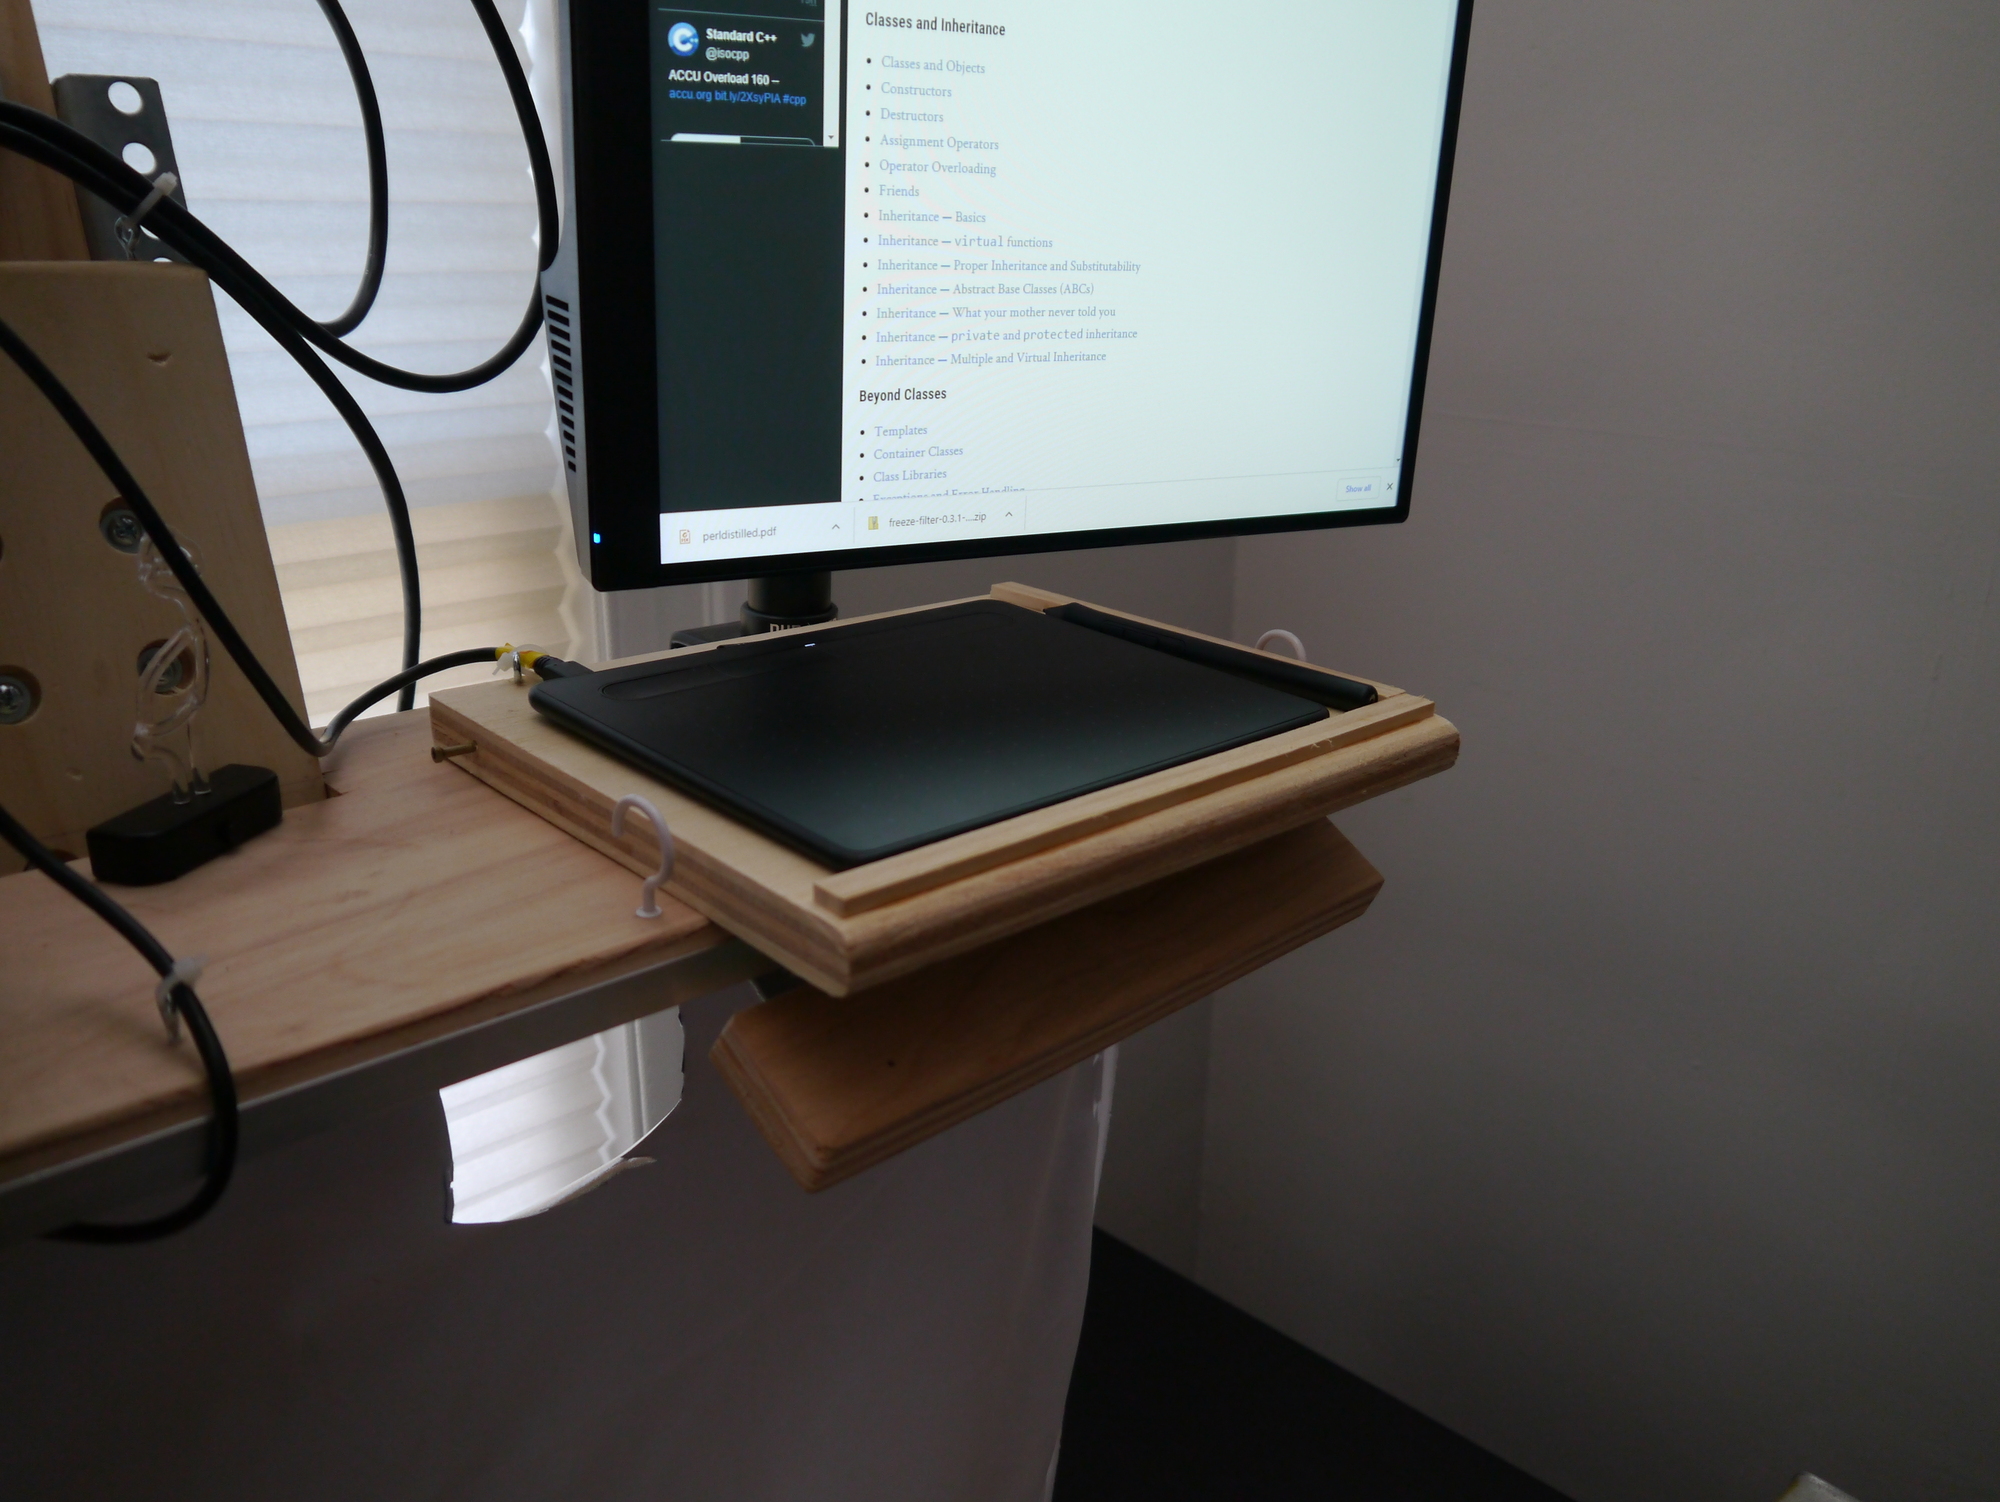
Wacom Tablet (stowed)
Summary
Both physical and digital diagramming are useful, and the teaching station supports both. I have, however, had a noticeably pleasant reaction from attendees when using the physical drawing area. Picture-in-picture can be used to maintain a connection to the presentation material.